If you want to know how to storyboard, you’ve come to the right place! This guide will provide a soup-to-nuts process for building your very own storyboard, complete with illustrations.
Here’s what we’ll cover:
- What is a storyboard and when should you use one?
- What tools do you need to create a storyboard?
- How to create a storyboard (step by step)
- Tips and best practices for creating a storyboard
- Key takeaways and further reading
But before we dive into the process of making a storyboard, let’s quickly recap on what a storyboard is and when you should use one.

1. What is a storyboard and when should you use one?
A storyboard is a tool used to turn a script, concept, or idea into a chronological sequence of drawings that help stakeholders comprehend what you are trying to explain. Storyboards are most commonly used during the movie production process for everything from blockbuster films to product videos to explainer animations, but you can also use them to pitch ideas or explain concepts in an educational setting. We explain more about what a storyboard is in this guide. For now, though, let’s consider the elements that comprise one.
What are the elements of a storyboard?
Storyboards can range from elementary to quite detailed and granular, but there are several elements that most storyboards (especially those for movies) should include:
- Script or narrative. Consider the script or narrative as the skeleton of your final product. Without a guide to follow, you’ll have nothing to base your storyboard scenes on.
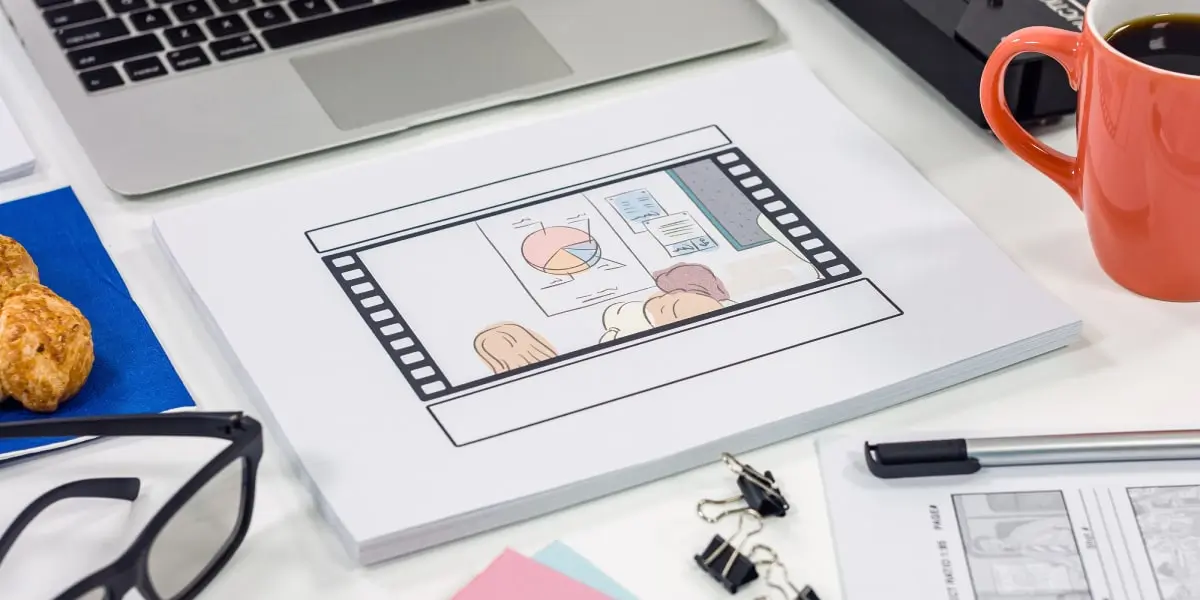
- Aspect ratio. If you’re going to produce a movie, you’ll need to know the aspect ratio (the shape of your camera frame). Aspect ratios matter because not every platform uses the same one. For example, online videos, like those hosted on YouTube or social media, are typically 16:9 (sometimes 1:1 for Facebook and Instagram), whereas epic action films may fare better using a more robust 2.39:1.
- Panels. These are the rough scene renderings that transform your script into images (otherwise known as “the fun part”).
- Camera angles. Varying your camera angles and shots is essential for keeping things interesting and engaging an audience. You can pan in or out, film using long shots, close-ups, from behind, etc.
- Titles or captions. These can include parts of the script, a description of the scene, or other additional directions for the production process.
Are you getting the picture now? Storyboards are really not all that complicated when you break them down into their components, but they do require work to create. Let’s look at some tools you can use to build your own storyboard!

2. What tools do you need to create a storyboard?
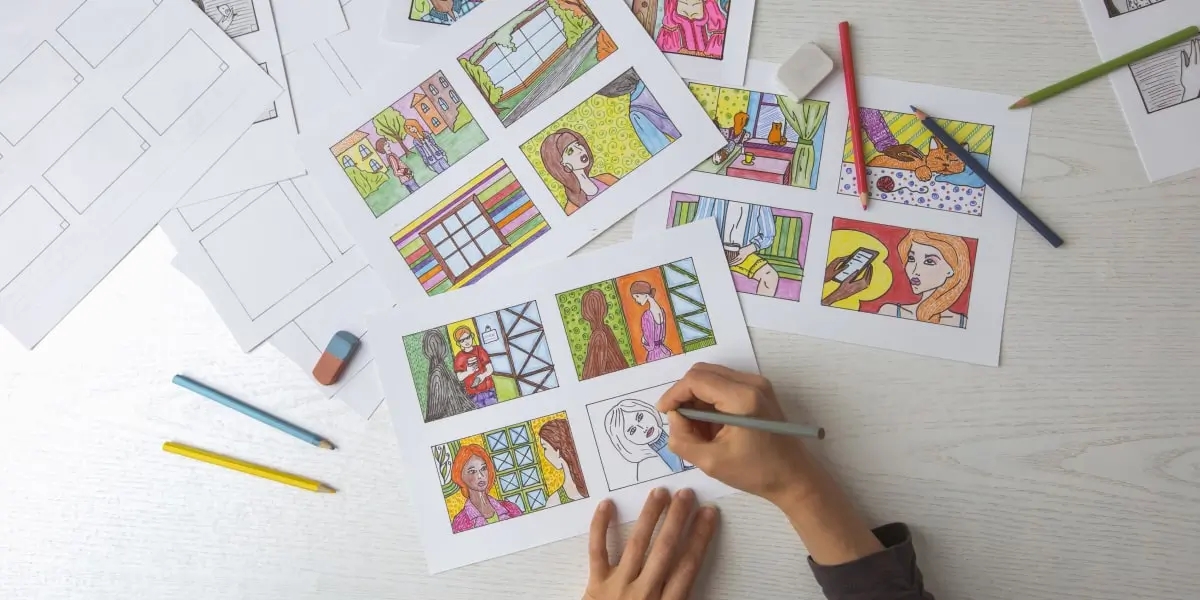
First, you’ll need to decide on the type of storyboard you want to build. You can go old-school and create one using paper, pencil, and some kind of poster board or other stiff material for backing, or you could leverage computer software to create one digitally.
Both types have their pros and cons. Pencil sketches are great for the computer-shy, and you can complete them pretty quickly if you stick to stick figures and rough outlines. However, they don’t look nearly as professional as a digital version (critical if you’re pitching to clients or other stakeholders) and are almost impossible to share unless everyone is looking at them in the same room.
While they require storyboarding or another type of design software, digital storyboards will look far more polished, and you can easily share them online. But, of course, you’ll have to learn how to use the software, potentially pay for it, and chances are it will take you longer to sketch out your panels (at least in the beginning).
Feeling more confident now about building a storyboard? Good, because now it’s time to dive into the process of creating one!

3. How to make a storyboard: A step-by-step guide
You’ve got your script and decided on the type of storyboard you’re going to use. Now it’s time to start making your storyboard! Just follow these steps and you’ll be fine:
1. Mark up your script
If you have a clear vision for converting your script or concepts into a sequence, great! If you don’t, that’s also fine, but even if you can practically see the final product in your head, marking up your script or notes with scene ideas is an excellent way to set the stage for the next phase: sketching the panels.
2. Scamp away!
In storyboarding parlance, the act of sketching out your panels is known as “scamping.” So start scamping! Whether you do that through good ’ole-fashioned pencil and paper drawings or using digital software is up to you. If you’re going to produce a video, this is the phase where you’ll decide on your aspect ratio, too. This is why having some documentation on your script is so helpful—you can refer back to it to help flesh out your ideas.
Just remember that your sketches should be rough and quick to complete (they can include a background, too, if you’d like). You’re not creating a masterpiece here; the goal is to take the vision in your head and turn it into something tangible. If you’re looking to use a digital sketching platform, try out Paper or Astropad Standard.
3. Arrange your panels and add details
If you’re using a digital tool like StudioBinder to arrange the panels into a storyboard format, you can also number and renumber your scenes and add descriptions. StudioBinder also allows you to include camera specs and angles via checkboxes in a pop-up modal.
Now is the time to dig into the details a little! The storyboard details will provide direction for the production and editing processes, so you want to ensure you get it right during the storyboarding stage.
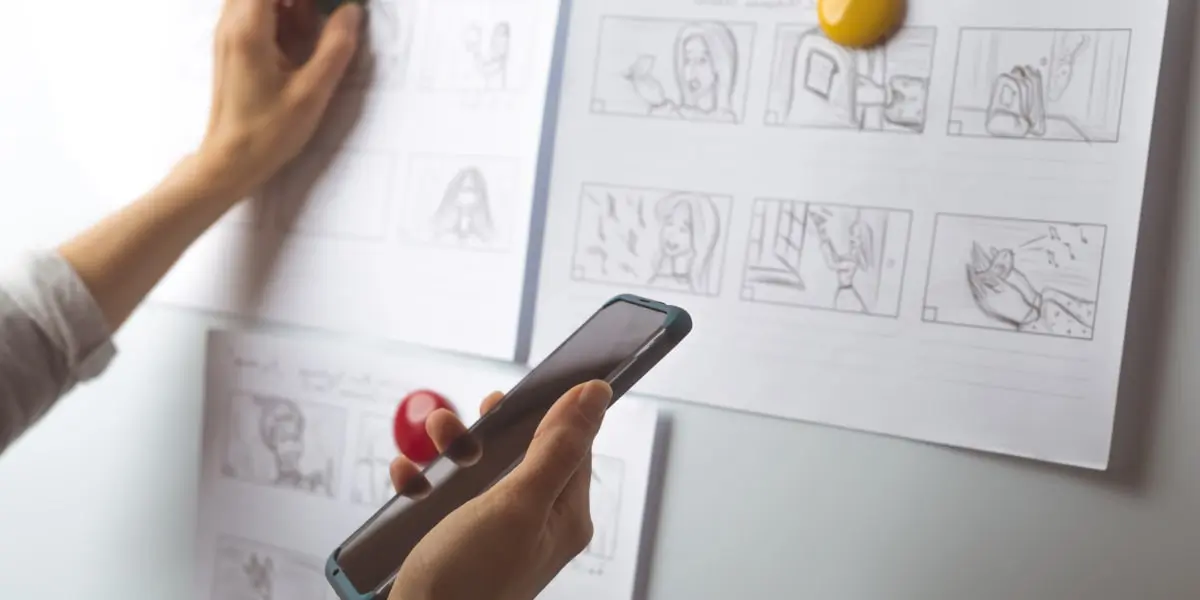
Those creating an analog storyboard should place their panels on the poster board or stiff surface and adhere them in the correct order. You can then add the details like the titles, quotes, descriptions, and so on., either on the panels themselves or pen them underneath in marker.
Congratulations! You’ve just completed your first storyboard.

What happens with your storyboard once it’s complete?
You may be thinking, “What happens next?” Well, depending on your storyboard’s purpose, you have a few options. If you’re pitching to your boss or other stakeholders and don’t need anyone else’s input, you can go ahead and share it with them. However, we do recommend getting feedback from at least one other person to ensure your storyboard is clear and easy to follow.
If you’re part of a team that’s pitching to a client, share it with your team and get their feedback. What’s nice about using software is that making changes to your storyboard is usually pretty easy. Depending on the input you receive, you may need to update or redraw some panels or rearrange them, but seeing how nothing is set in stone, it shouldn’t pose much of a problem.
4. Storyboarding tips and best practices
At this point, you may be tempted to stop reading this article and start making a storyboard right now. But don’t leave just yet! Here are a few tricks of the trade that will save you from wasted time and effort:
Tip 1: The more detailed your script, the easier it will be to storyboard
Think about it: if your script or concept is fully fleshed out, it will be easier to convert into visuals. If your narrative is still vague, you’ll need to spend time during the scamping phase to translate it into the scenes.
Tip 2: Make sure your scenes make sense when you arrange them
If a character is sitting at a table in one scene, don’t have them sitting on a sofa without showing how they arrived there in the next. The nice part about storyboarding is that it forces you to account for these transitions, so you don’t find yourself at the end of a shoot with disjointed scenes, frantically trying to edit them into a semblance of fluidity.
Tip 3: Don’t be afraid to get precise about camera shots
The more detail you can provide to the production teams, the better. It will make their lives easier and ultimately give you more control over the end product.
Tip 4: Think of the storyboard as a stepping-off point, not a finished product
We’ll say it again: storyboards are meant to be modified. Don’t agonize over character sketches during the scamping phase because you might end up switching everything around and needing to create new panels. If you are a perfectionist, you may want to put a sticky note on your desk that emphasizes this point!

5. Key takeaways and further reading
So there you have it—a comprehensive tutorial on how to build a storyboard! At this point, we hope you’re feeling pretty confident about your ability to create one yourself. Just remember that practice makes perfect. Your first storyboard may not be a work of art (and quite frankly, your 500th doesn’t have to be, either), but the more you storyboard, the easier it will get.
If you enjoy the storyboarding process and would like to learn more about animation design (a job that requires storyboarding rather frequently), you’ll find a complete guide to animation design here. For a hands-on introduction to design, check out this free series of UI design tutorials—you’ll learn the basics of UI and design your own app screen from scratch.
Intrigued by animation and UI? Give these articles a read, too:
