As you get your start in the world of UX, one important tool you’ll need in your skillset is the customer journey map. Creating journey maps can seem intimidating and you may not know where to start. We’ve broken down how to create effective and accurate customer journey maps using seven simple steps.
Research has shown that companies who take the time to design positive, meaningful experiences for their customers are more likely to gain loyal patrons and increase their bottom line. Many brands are looking for innovative ways to solve their customers’ needs in a way that encourages them to continue interacting with the company over time.
A great way to understand if your brand is providing smooth and worthwhile experiences that meet the expectations of your customers is to create a customer journey map.
This guide will give you a template to use as you create your first customer journey map and outline these seven steps to follow:
- Set a clear objective for the map
- Define your personas and highlight target customers
- Define stages and identify goals for each
- List out touchpoints
- Gather data and customer feedback
- Determine pain points and points of friction
- Identify areas for improvement
Before we jump in, note that we’ll be using our downloadable customer journey map template below to walk you through creating an awesome customer journey map. You’ll want to customize your map to the needs of your brand but our template is a great place to start getting your ideas out. Ready to learn how to create a stellar customer journey map? Let’s get started.
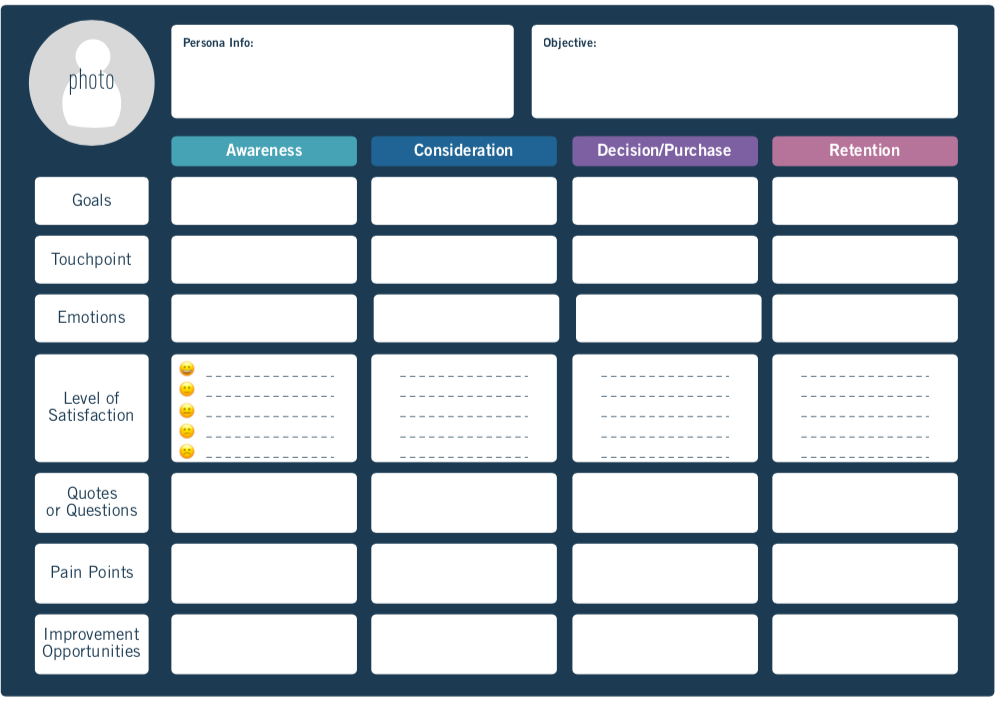
Note that if you’d like a set of inclusive images to use in conjunction with this template, have a look at the images we suggest using with our user persona template (you can catch the full guide here: 5 Steps to build your first user persona).
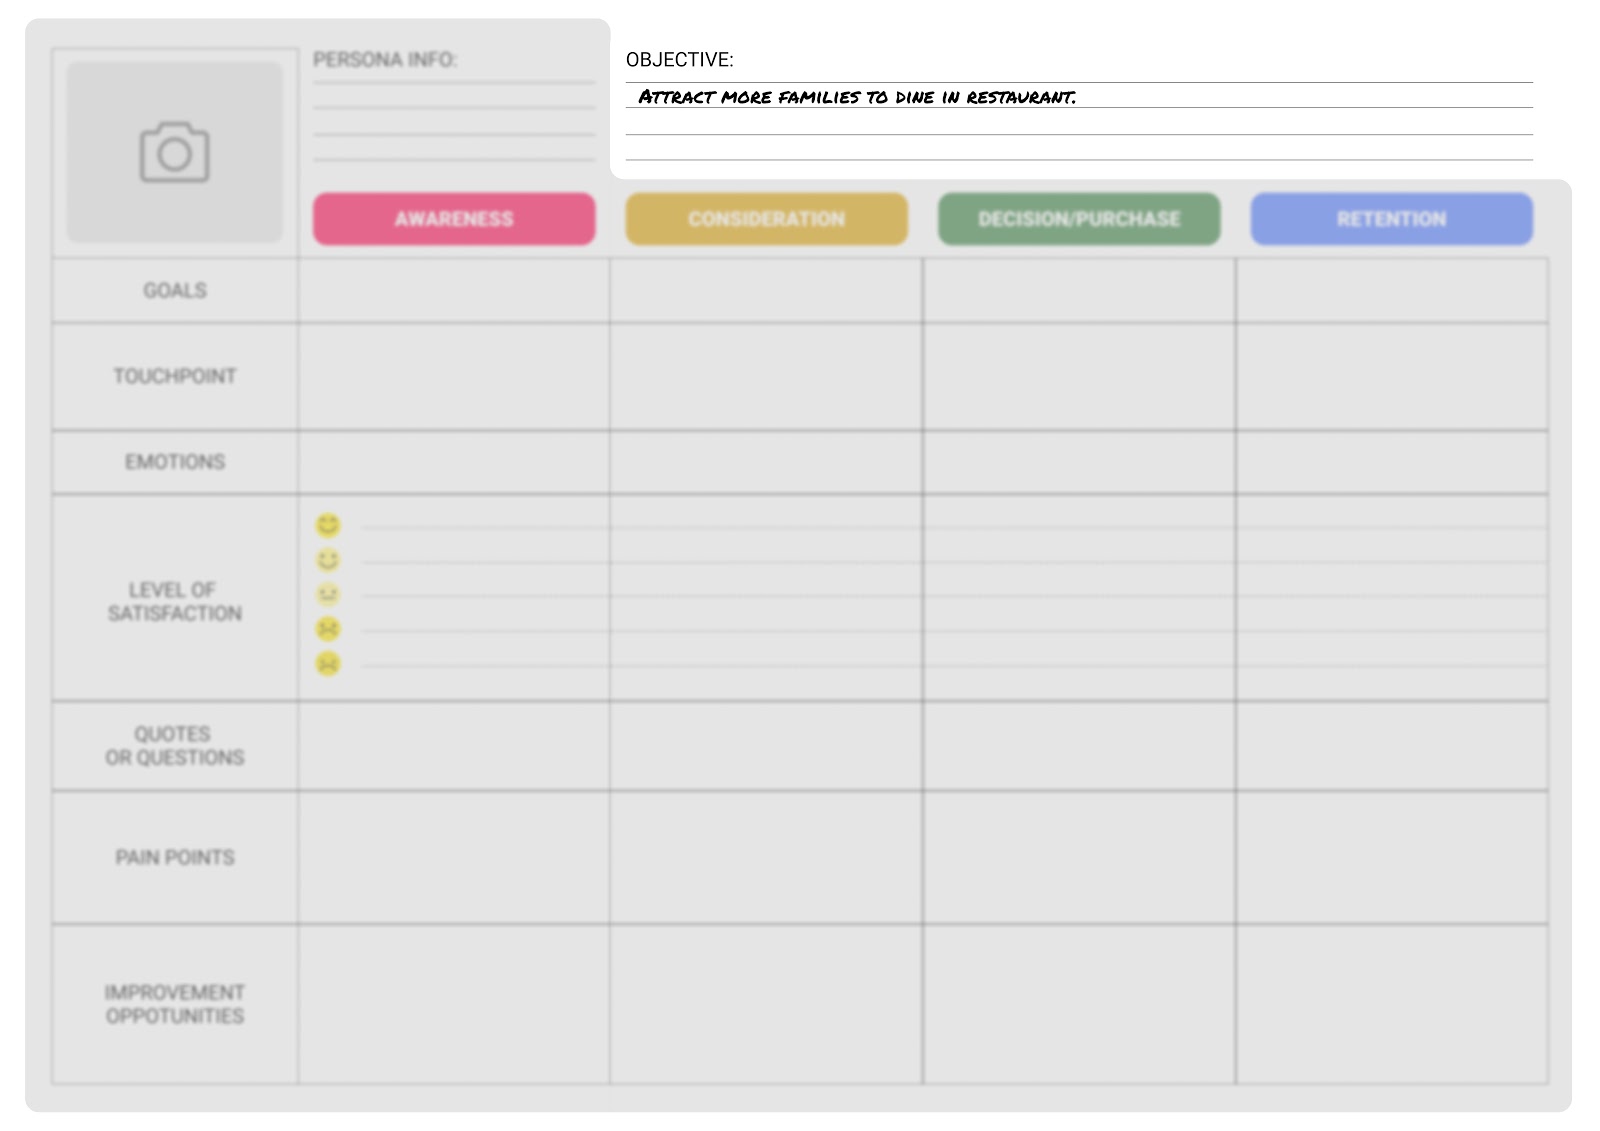
1. Set a clear objective for your customer journey map
One of the best things you can do before diving into your customer journey map is to have a clear idea of what you and your team wish to accomplish by creating one. What sort of information are you hoping to gather and how will you use it? What insights do you hope to gain? Setting these goals early on can help ensure your efforts are not wasted and you are accurately portraying the customer journey.
2. Define your personas and highlight target customers
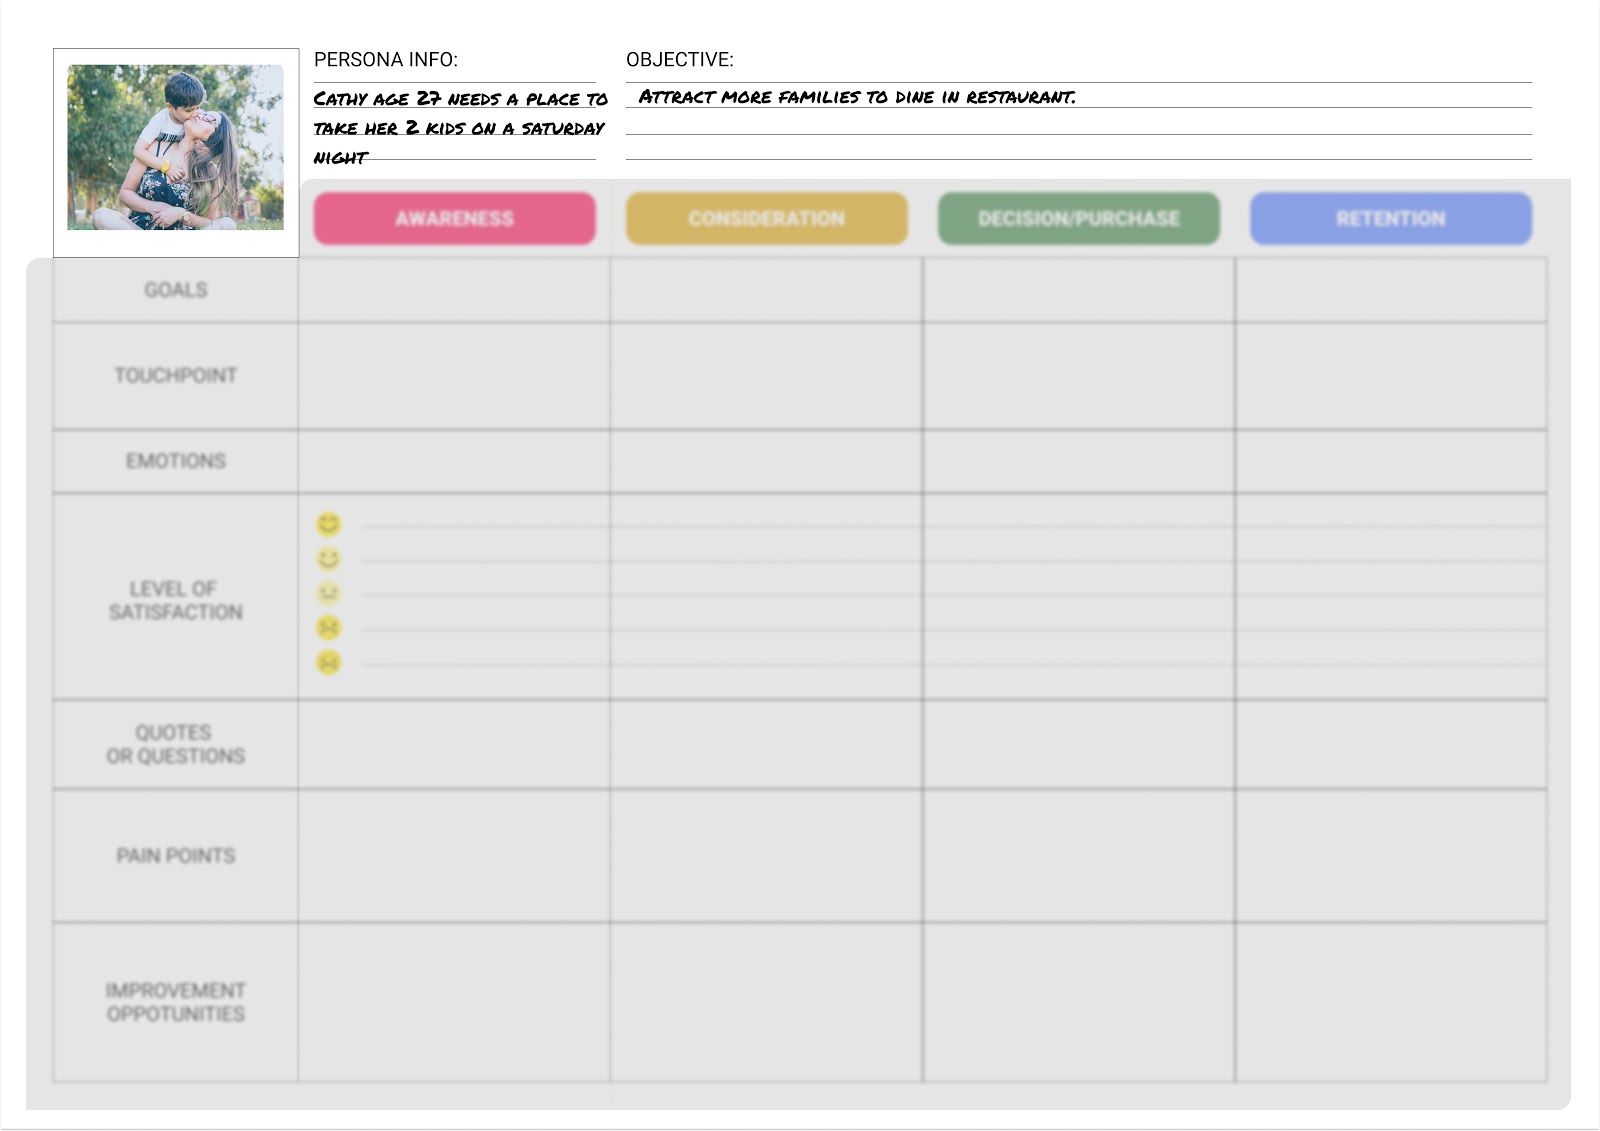
Much of the information you’ll use to create a customer journey map will come from your customer personas. Since a single organization can have many different customer profiles, you’ll need to decide whether you want your map to reflect multiple different buyer’s personas in one, the majority or most prevalent persona, or if you’ll create an individual map for each target customer.
To create accurate personas, you’ll have to gather feedback directly from your customers as well as data from customer analytics. Here are some great ways to gather valuable data when defining your customer personas:
- Conduct consumer surveys and questionnaires
- In-person interviews with customers
- Run user testing with your product
- Interview employees with customer-facing positions
- Run a Google Analytics report
- Gather analytics from your website and social media
Be sure to focus on people that actually have interest in using your services or have used your product before. You’ll also want to ensure you’re asking questions that get to the info you’re after without bias or influencing your customers’ answers. Here are some good questions to seek answers for:
- What problem drove the customer to your company?
- How did they find your website or company?
- Was the site or app easy to navigate?
- What competitors did they research?
- What differentiated your brand from the others? What made them decide to (or not to) choose your product?
- What do they hope to achieve when interacting with your company?
- How often do they interact with your brand or product and for how long each time?
- Have they ever contacted support? What was the experience like?
- What do they enjoy about your company? What do they find frustrating?
- Are there areas they think could be improved? If so, what and how?
Once you have your persona(s) defined, you’ll be ready to identify the stages they move through when interacting with your brand.
3. Define stages and identify goals for each
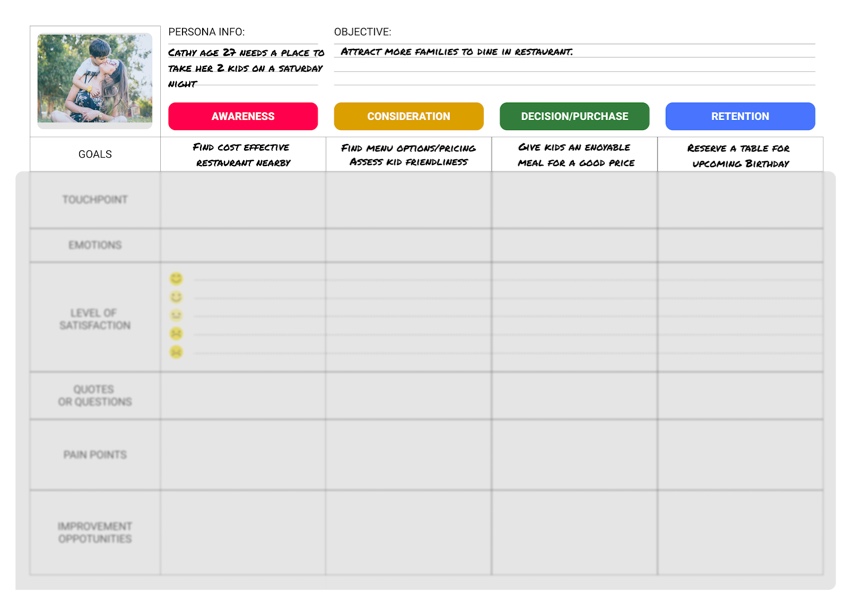
A customer journey map (or buyer’s journey, as it’s often called) can have many unique stages. The stages you define for your map depend largely upon the goal you are trying to achieve and what you want it to show. However, a typical customer journey has four distinct stages: the awareness stage, the consideration stage, the purchase (or decision) stage, and retention.
Awareness stage: Your customer has identified a problem that needs solving and has just encountered your product or brand for the first time. This phase encompasses why they are searching for a product, their motivations for buying and the first moment they become aware of your brand.
Consideration stage: Your customer is considering what you have to offer and actively researching your brand as well as competitor products. This is where customers are encountering homepages, browsing product descriptions and pricing, visiting About Pages, Contact pages, help centers and FAQs, as well as searching through online reviews.
Decision stage: Your customer has gathered enough information to commit to a purchase. This phase often includes in-person purchasing experiences, online ordering pages, email confirmations, and FAQs on shipping and billing expectations.
Retention: Your customer has made an initial purchase and is evaluating their overall experience. This phase is all about creating loyal, returning customers and usually evaluates the quality of your company’s customer support services, delivery and return options, as well as future discount or membership programs.
These are the most common customer journey stages, but the stages you define for your map will depend on what you’re using it for. For instance, if you want to see how customers interact with your product from early morning to late night you can create a “day in the life” journey map. Another interesting option may be focusing on the journey your customer takes when noticing an issue, contacting customer service, and receiving help.
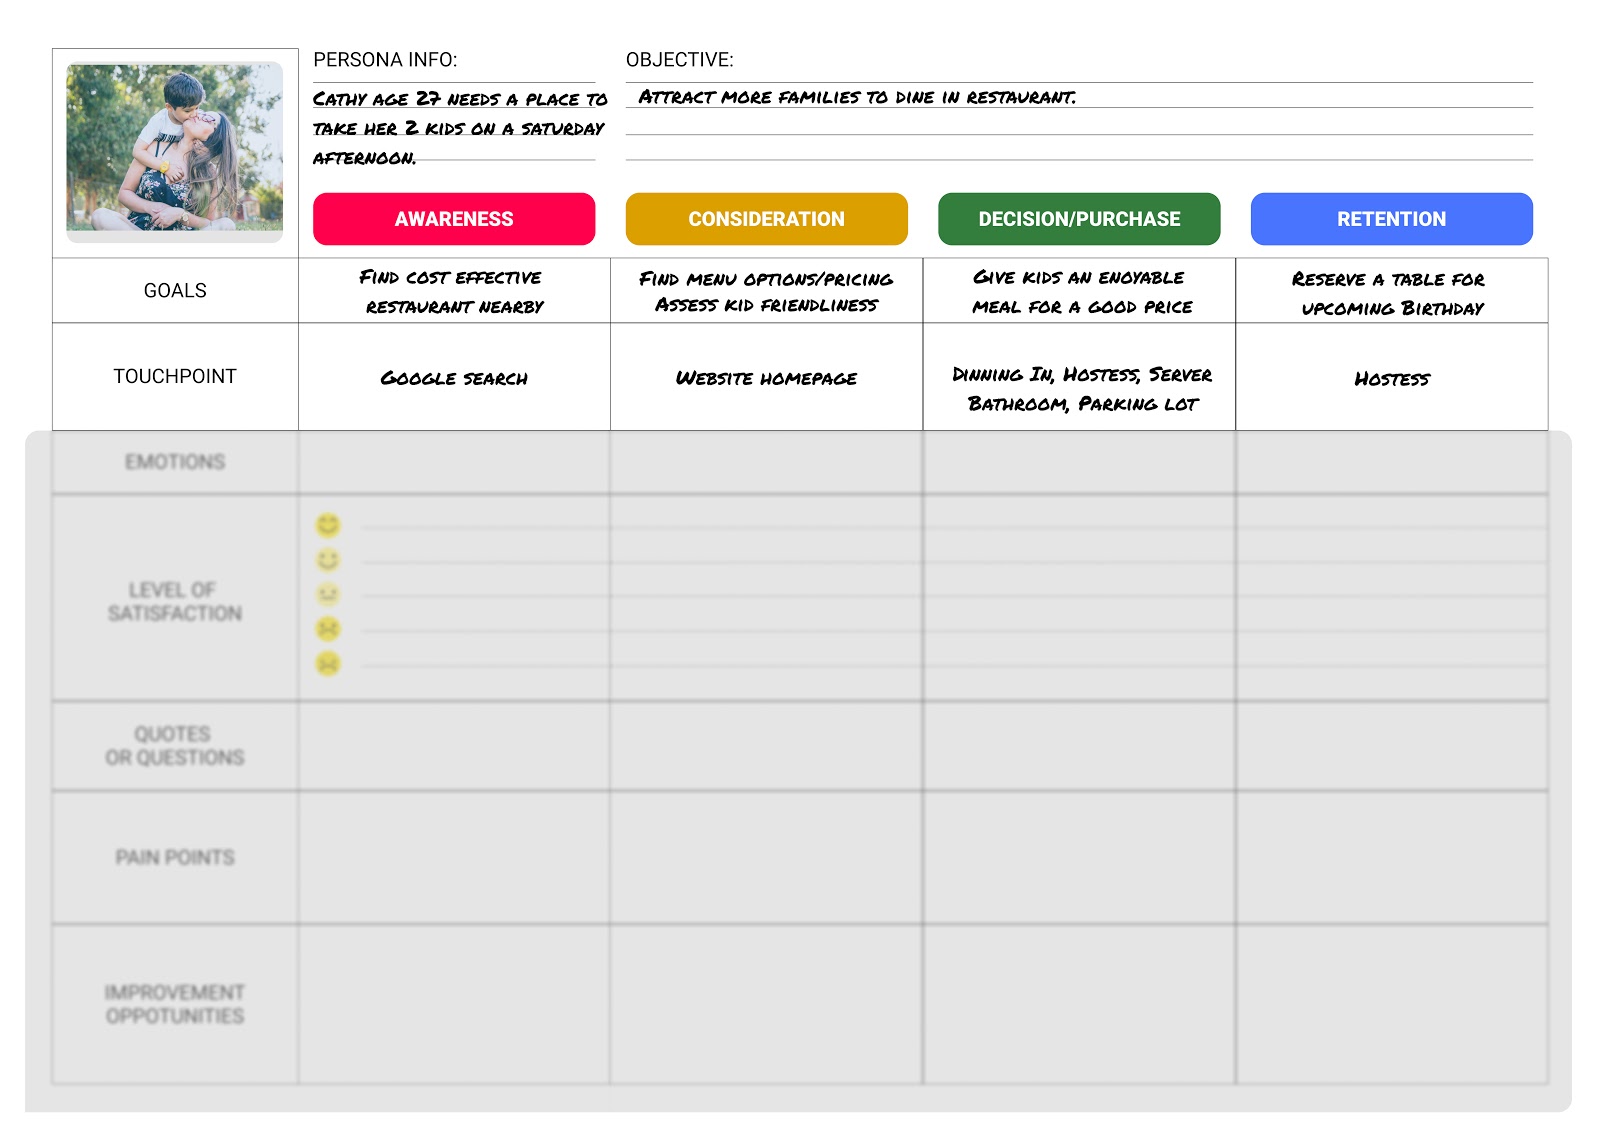
4. List out touchpoints
Now that you have the stages of your customer journey map defined, you can list each touchpoint the customer will have within each stage.
A touchpoint is each time your customer interacts with some aspect of your brand, whether it be your company website, an advertisement, an online review, purchasing and using your services, or contacting customer support.
Brainstorm all the different ways your customer can interact with your brand and note what actions they take for each one. Be sure to think outside the box! Things like “word of mouth” or an email confirmation can be touchpoints as well.
This example shows one or two touchpoints per stage, however, your customers will most likely have many different touchpoints within each phase of a journey map:
5. Gather data and customer feedback
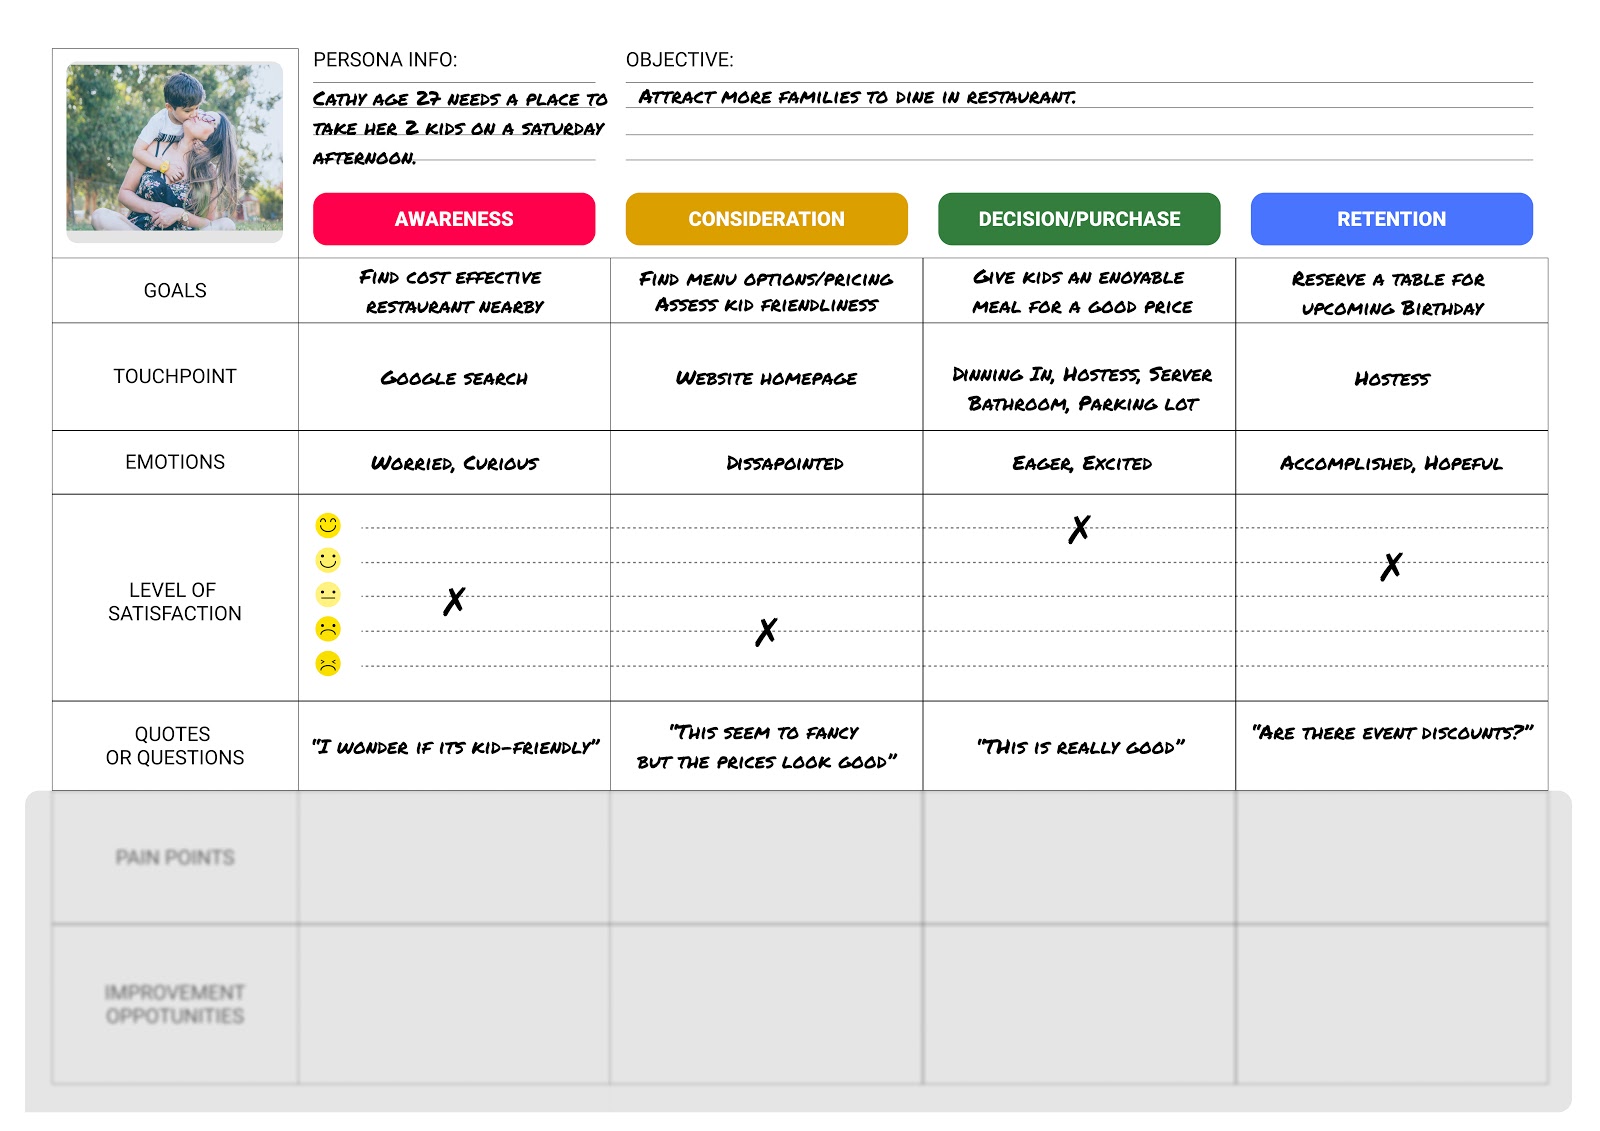
At this point in the creation of your map, you should have a pretty good idea of how your customers move through your brand. The next step is to gauge what your customers are thinking and feeling as they move from touchpoint-to-touchpoint and stage-to-stage. You’ll want to take the customer journey yourself so you can see what your customers are experiencing first hand. However, it’s most important to gather feedback from actual customers to include in your map.
There are many different ways to map the emotions, thoughts, and motivations your customer has when interacting with your brand. You can include sections for quotes from in-person interviews and online reviews or include a section to list stats from surveys and questionnaires. You can also use emojis or pictures to relate feedback from user testing or even use rating systems and color codes that represent customers’ emotions at each stage.
6. Determine pain points and points of friction
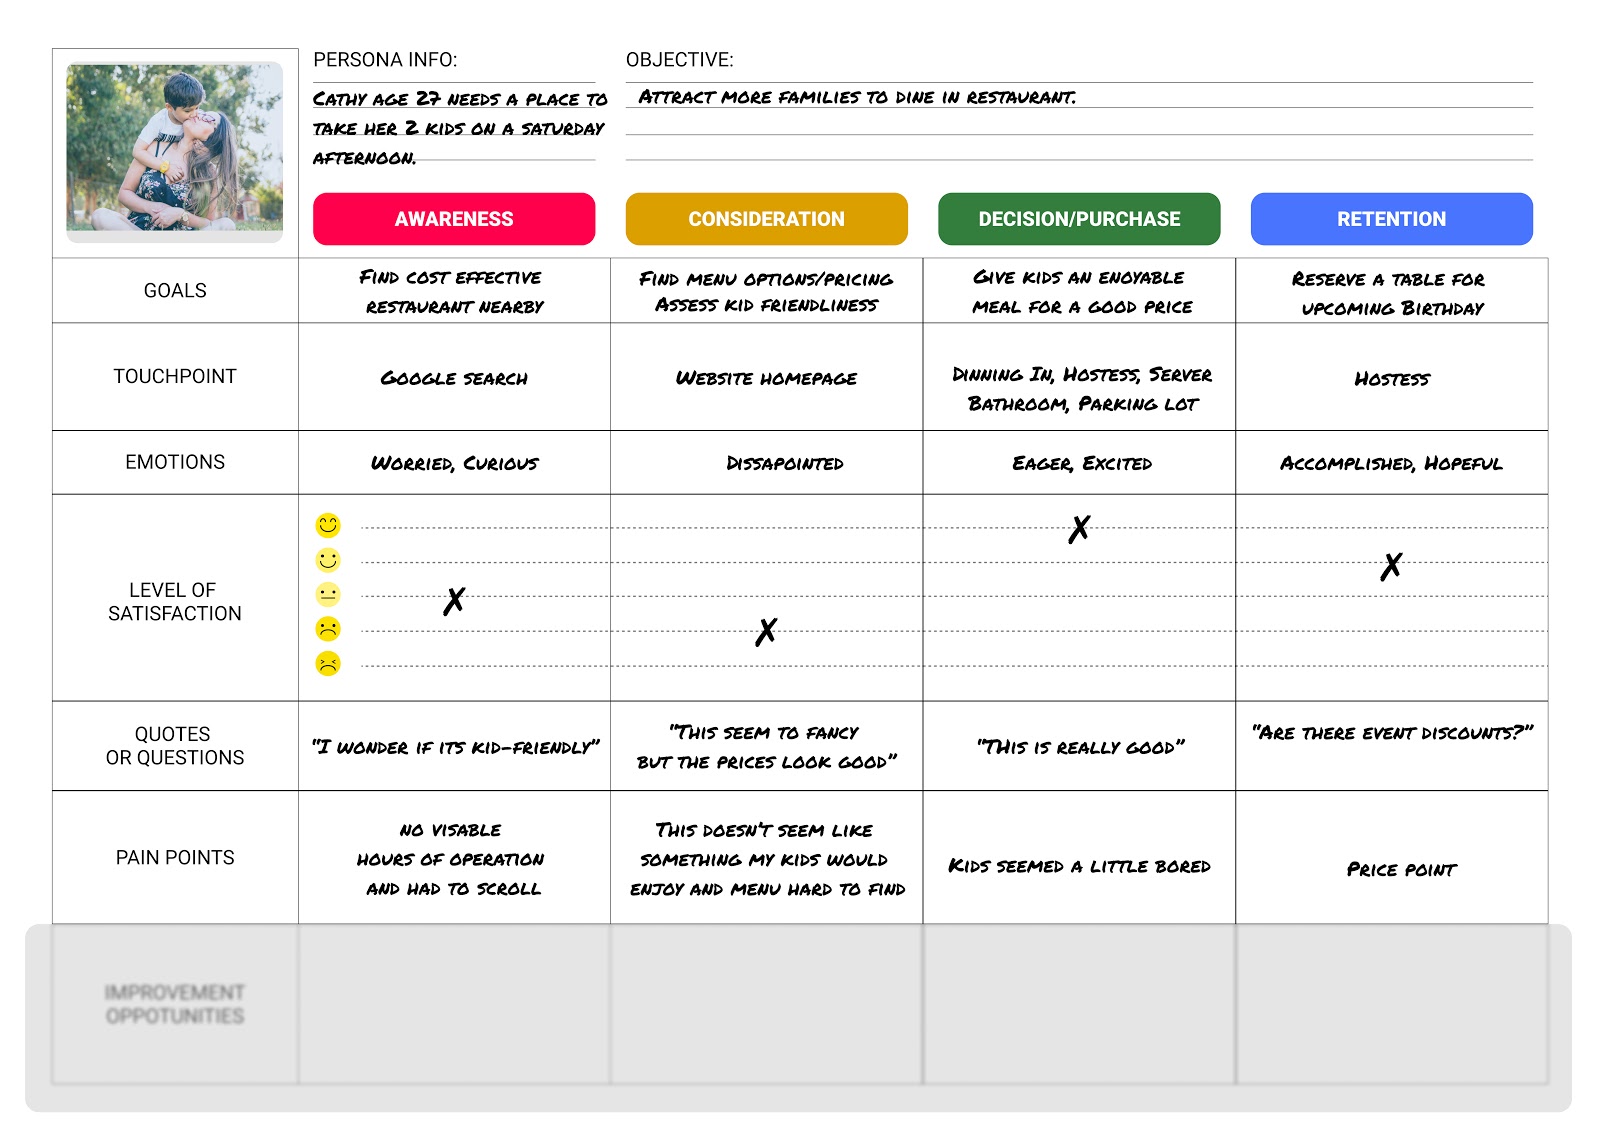
Once you’ve mapped the data from customer feedback, you’ll be able to more clearly see any potential areas of friction of hang-ups your customers might be experiencing.
Where are your customers expressing frustration? Are there gaps within the journey or difficulties when moving between stages?
Pay attention to when pain points manifest, what triggers them, how your customers react, and what departments within your company are involved. Chances are there will be customer pain points throughout your map in each different stage.
Try to highlight the most prevalent or problematic points of friction that, when solved, will have the greatest impact on the overall customer journey.
7. Identify areas for improvement
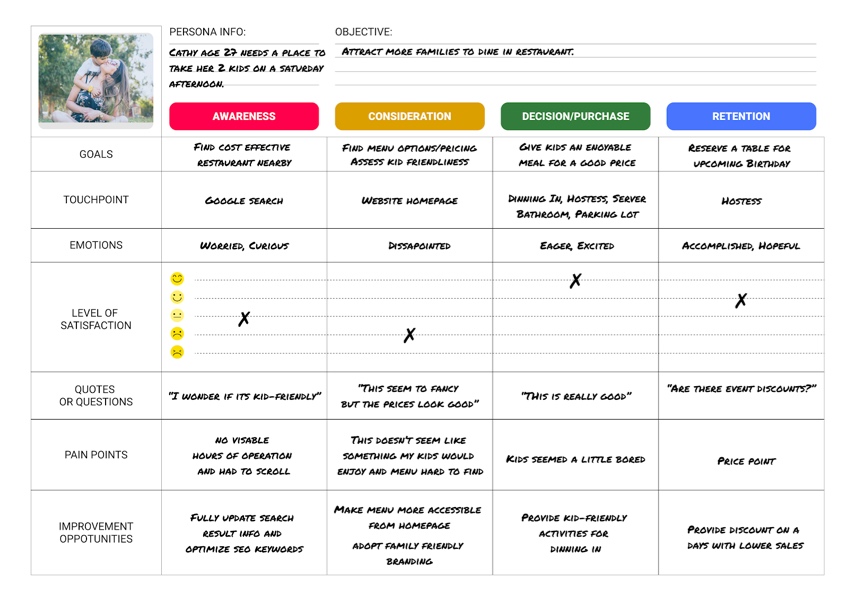
Identifying what areas of the customer journey need tweaking is the first step to improving your customer’s overall experience. The next thing to do is to brainstorm solutions or remedies for each pain point. Having a section of your map that addresses suggested solutions or opportunities to improve is paramount to getting the most out of your map. Once you’ve brainstormed different ways to alleviate your customer’s frustrations, you can implement the necessary changes, conduct further research, and evaluate the customer journey again.
Having trouble coming up with solutions for your customers’ pain points? Try creating a separate map of an ideal customer journey within your company and compare and contrast to their actual journey. Viewing the maps side-by-side may shine a light on what can be done to improve your customers attitude towards your brand.
Key takeaways
As your company or brand evolves, the customer experience will change—and so will your journey map. It is rare for a customer journey map to stay static for very long as your brand constantly strives to design better experiences for your customers. Customer journey maps are regularly revisited and revised as improvement initiatives within the company are implemented. Be sure to use all the resources available to you when creating and revising your journey maps. Most importantly, keep your customer in mind from beginning to end.
To learn more about customer journey maps, UX design, and how to create better experiences for users, check out these articles:
